
Split Fountain Madness
by John Carvalho
So, confession time: I love blue painter's tape! It holds well and removes completely. If anyone of our very skilled and experienced member printers saw my make-ready, they would cringe, guffaw, or holler up a maelstrom. So we will only speak of blue tape in terms of split fount mechanics.
A split fountain is a way to print more than one color in a single pass. With careful planning, you can add real depth and complexity with relatively little extra work. You can use the technique to print gradients or with careful planning, an image with more colors than passes.
What do you need:
- A press (I use "Walt," my trusty Kelsey Excelsior Model X 6x10)
- More than one color of ink (start with 2, get hooked, then go crazy)
- A rubber brayer wide enough for the gradient you want (a six inch works for me)
- A smooth color mixing surface (palette) longer than one roll of the brayer, and a bit wider (Unfortunately my palette, a 1/4 inch glass sheet did not make the move to Mississippi. I'll get a new one soon. For now I use an old cookie sheet.)
- Blue tape (Did I mention I love blue tape?)
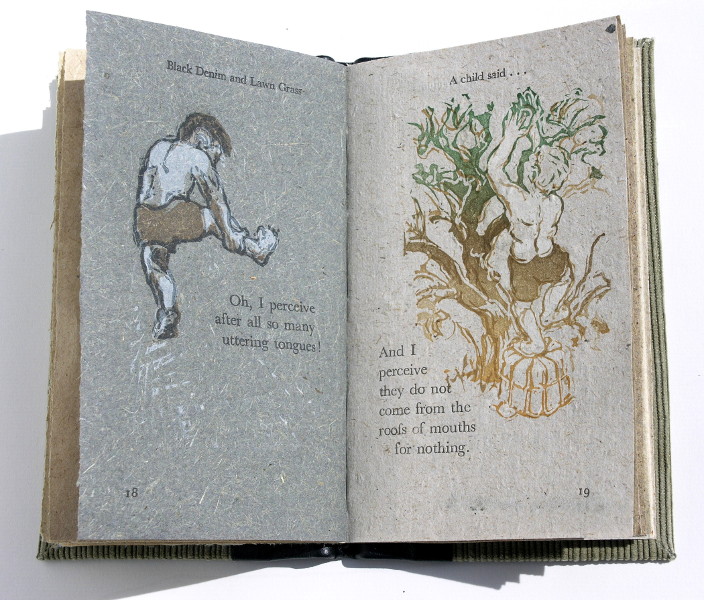
- Something to print: text, image, or ornament. Just remember "garbage in, garbage out"
So, to get more than one color printed on a single pass, multiple times, we need to think outside the box. The mechanics of most presses cause the ink plate to turn a bit with each print. This keeps a nice even coat of ink on the rollers. Works great for replenishing the rollers with one color, but will mix or muddy the happy fountain of hues we want to experiment with. We need to stop the turning. But, if we stop the turning, the ink will quickly get depleted where it is most used. We need a way to replenish our super cool colors without the disk turning. Our properly functioning machine does a great job, but it is thwarting us. So as with other parts of life, lets break the problem down and solve it in steps.
- Make the spinning stop!
- Keep me covered (inked)!
I disable the motion with blue tape. A simple fold over on the dog (the thingy that pushes the ink plate around from the back) to prevent contact with the underside of the disk. Two strips on the edges of the ink plate attaching it to the bed UNDER the chase 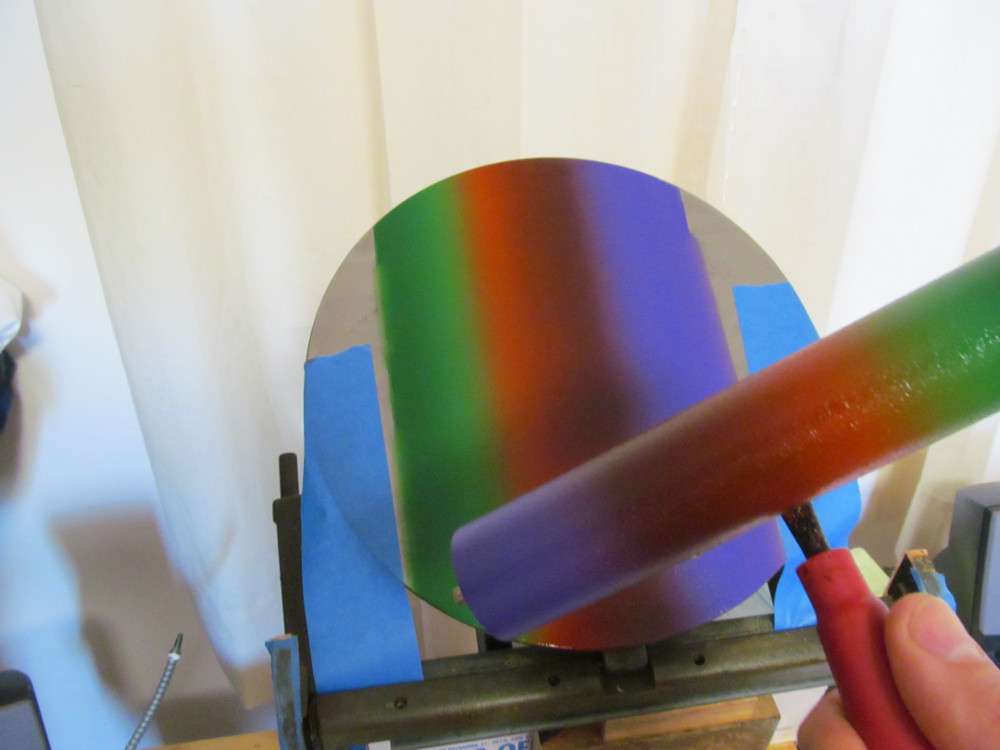 (You might need to pull the chase out to fix the typos you missed in all the excitement of printing multiple colors.) Just don't put the tape under any part that will print-- it will raise that portion of the form. I make sure it only goes under the furniture.
Put a few dollops of ink in appropriate locations on your palette. Use the brayer to gradually roll out the ink in a strip longer than one full revolution of the brayer. To mix the colors, roll a few times along with a tiny angle to the right side, then a few times to the left. When the gradation is what you want, STOP! 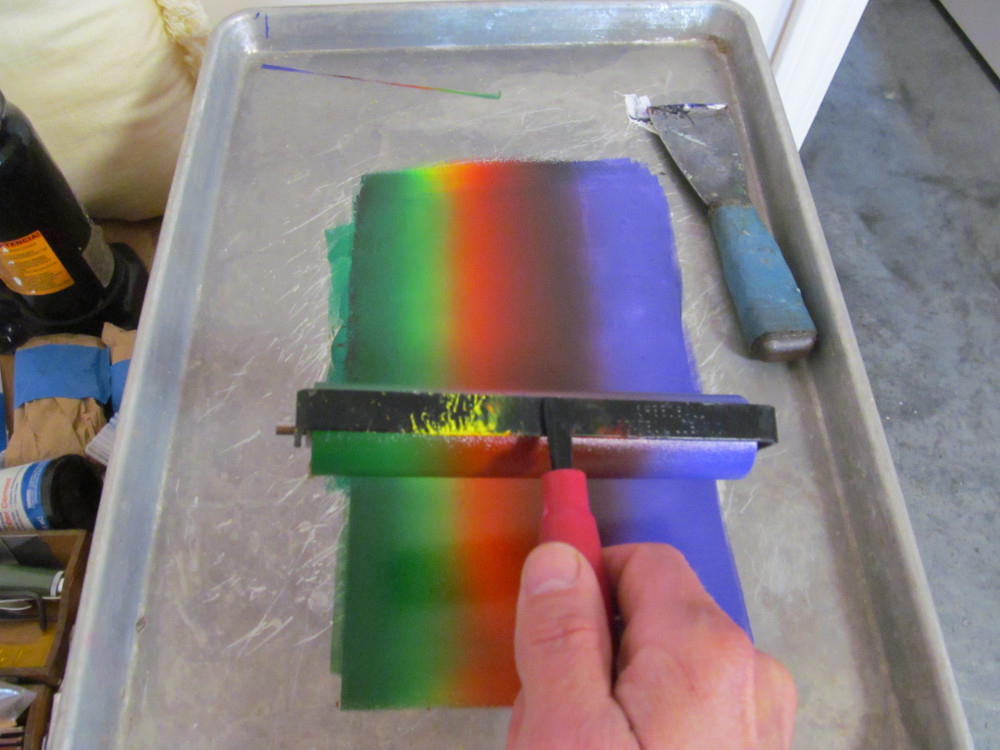 From here on out, only roll the brayer straight forward and back, so as not to change or muddy your gradation. Using the loaded brayer, roll ink onto your ink plate. Go back to the palette and load up the brayer by rolling in exactly the same place, only in a straight forward and back motion. To make sure you always return to the same place, scrape a guide line in the ink just where the left edge of the brayer should roll.
Use the loaded brayer to transfer ink to your ink plate. Once the ink plate is loaded, ink up your press rollers on the now non rotating disc. Reload the ink plate in the same manner: transfer from palette to plate with the brayer (always only on the same straight line). Depending on the density of your work piece, you may only get a couple prints before needing to charge up the ink plate again. Sometimes, all you need to do is use the brayer in a straight back and forth with an occasional lift to refill depleted areas on the ink plate.
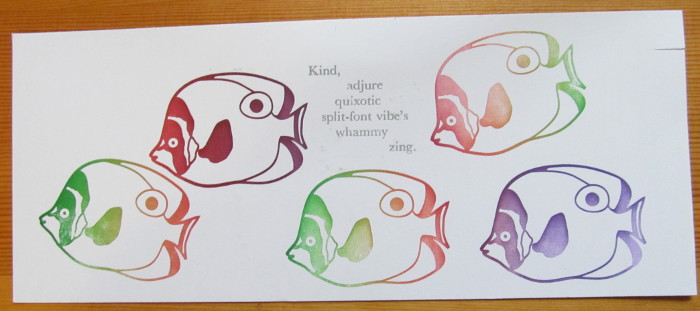
Have fun and experiment with using the same gradient multiple times.
JOIN AAPA!
Become A Member!
 Amateur journalism is a unique activity. Amateur journalists publish journals on paper & online & come from many perspectives: from deluxe letterpress printed journals, to Xeroxed newsletters, to artistically designed cards and ephemera. We embrace the spirit of being amateurs – loving what we do for pure joy and not financial gain – while creating top quality journals, zines, and homemade publications.
Members receive ...
- The monthly bundle mailed via the postal service
- Access to the website and e-journals
- e-mailed updates
- Ability to publish your stories on AAPA

 |
|